It's hard to believe I'm already on Day 6 on this project, and that my 'vacation' week is almost over. And, I (or I should say 'we' now), have plenty to do.
I'm slower than most as I'm a perfectionist and need to be organized. Also, having an 18-month old has slowed the project down to be a 9-5 job for the most part. I could probably be a little further ahead if I just had to wake up in the a.m. and start, and stop until whatever hour at night. Her room is right above the kitchen though.
Anyway, today was a good day. I didn't get through as much as I wanted, but as I've said, things always take longer than you plan.
Oh, 2 things.
1. My friend Anne asked, "what do you do about eating while this is going on?".
Well, the answer is, you mostly eat out, grill or make cereal or something. When I cleared out the cabinets, I was pretty organized and placed a bunch of items we would REALLY need on the hutch for easy access. However, once I had the stove and microwave all covered with the masking paper, it's harder to cook. However, Hubby likes to eat non-stop (aka the 'Snack King'), so he already broke a few holes in it to get at the microwave and the oven. The fridge I just had a drop cloth over. We aren't at the spraying stage, so things are still a little easy and we can just cover it back up. Once he starts spraying, I don't think we'll want to cover and uncover things if it's masking paper. I suppose you can just use more drop cloths instead? Or, some people actually move their appliances out to another area. you actually SHOULD move your fridge and possibly your stove and microwave I think. The only reason we didn't, is after Hubby did the hardwood floors , when they put all the appliances back in, no matter how careful they were, some scratches happened. So, we figured we would just leave them in place and risk more scratches when they come out some day to replace with Stainless appliances. If needed, I can paint any parts that are necessary at that time.
2. I'm tired, and I already forgot what #2 would be! Oh wait, last night I forgot to mention I forgot to do a 2nd coat of the BP on the panel to the left of the sink. I decided to try a small foam roller (a cheaper one) to see how that came out. This a.m. it looked like a slight orange peel texture, as you would expect from a foam roller. I tried to take a picture, but for whatever reason my nice hi-res camera wasn't cooperating and you can't see the detail.

I went to Home Depot this a.m. to return those horrible brushes. I bought the "Better" ones, along with a nice foam roller to try that out. I also grabbed a LOT more sanding blocks and just broke down and bought a huge 20pk of the 220 grit sanding paper. The blocks are convenient, but the are about $3/pop. You'll be sanding between every coat, so you'll need a lot of the 220. So, just bite the bullet and get mostly sheets, and then some angled sanding blocks for the grooves, edges and corners that are hard to get into.
I spent the morning and early afternoon sanding the 2nd coat on all the cabinet faces/bases, as I thought Hubby would want to start spraying the primer in the afternoon. It's a LOT of sanding. Not horrible, but, you can't just quickly go over it. YOu need to make sure it's smooth. It's almost like when you patch a hole in drywall with the plaster. You need to sand it down. It's a little lighter in consistency than that, but that's what i felt like.

Oh, and I'm feeling better about the BRushing Putty as everything was pretty smooth and about 95% filled in. I'm just hoping 2 coats of primer and 2 coats of paint will really fill it in.
Then, I was going to vacuum everything up and start the 1st coat of Brushing Putty on all the door and drawer fronts.
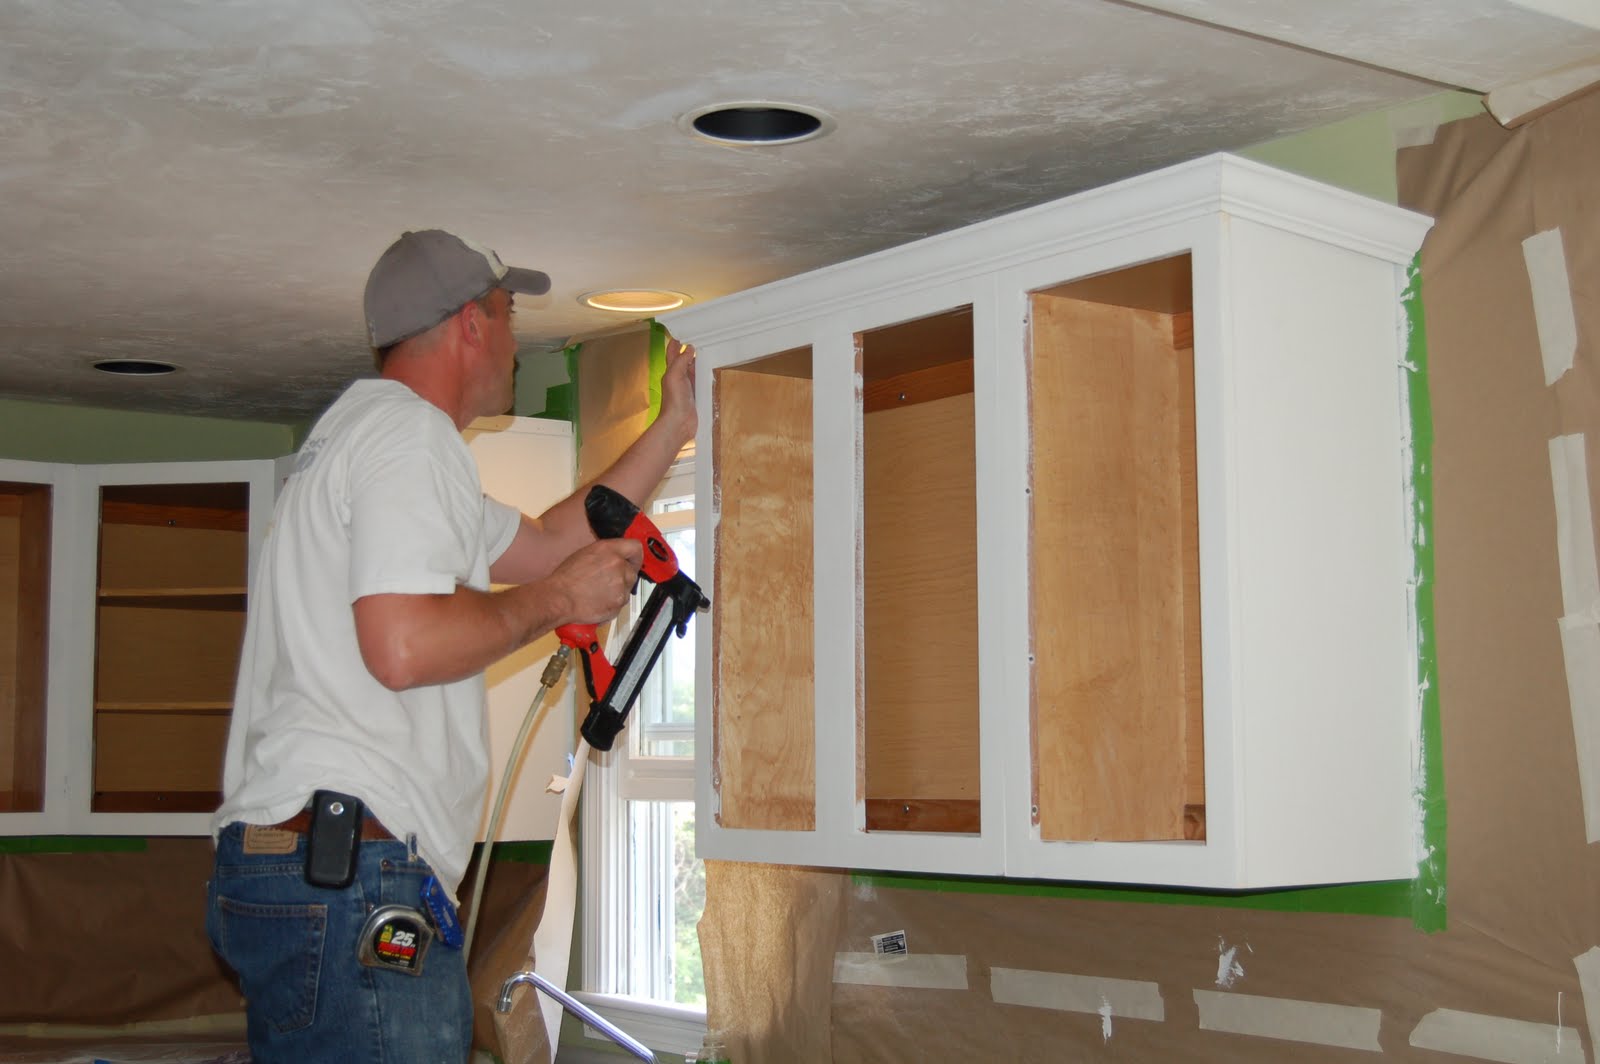
WEll, I forgot Hubby had still had to put on the crown molding before he sprays the primer, so I didn't want to vacuum until he was done making a mess with that. I needed to vacuum to get most of the dust out from the room before I started the 1st coat of BP on the door/drawer fronts.


Then I cleaned and prepared the kitchen table inside by placing down new plastic, to place all the clean, dust free doors on to start painting the 1st coat of BP. Hubby was still finishing up the molding, so I covered them with a clean sheet of plastic.
He finally finished and it looks SO good! It's amazing what adding less than $100 of trim does to make it look nice!


AT this point we had to go pick up Kaitlyn and we decided to just eat out for dinner vs. grilling.

So, I just vacuumed up all the sanding dust inside the cabinets, on the counters, floors, etc. to prepare for him to spray the primer on tomorrow.
REmember, it all has to be as dust-free as possible before the next coat. I'll still have to wipe down all the cabinet faces with the wet rags.
My plan after dinner was to start the drawer fronts/doors, but then I realized I'm tired. I'll also have to get more Brushing Putty as i finished 1 EuroQuart and only have 3/4 of the other EuroQuart.
'til tomorrow!
It looks amazing so far! I can't wait to stop by and see the finished product!
ReplyDelete